Phyllo Dough and Spanakopita Triangles

I think this one can be blamed on the Great British Baking Show, whose current season had a “technical challenge” that involved making baklava, including making the phyllo dough from scratch. But, I think also I was motivated by a big pile of fresh spinach that Chris gave me from a huge bag that she had bought at Wilson’s Farm.

I started doing some research online about it, and was frustrated by the lack of clear instructions. The New York Times has a recipe for phyllo dough, but stops before saying what to do with the dough. There is one use for it that they show (something called Hortopita), but I wanted to get into more options.

Of course, I did also check out the Paul Hollywood baklava recipe that was used for the GBBS technical challenge, but was thrown a bit by the use of “corn flour” as a separator between the layers.

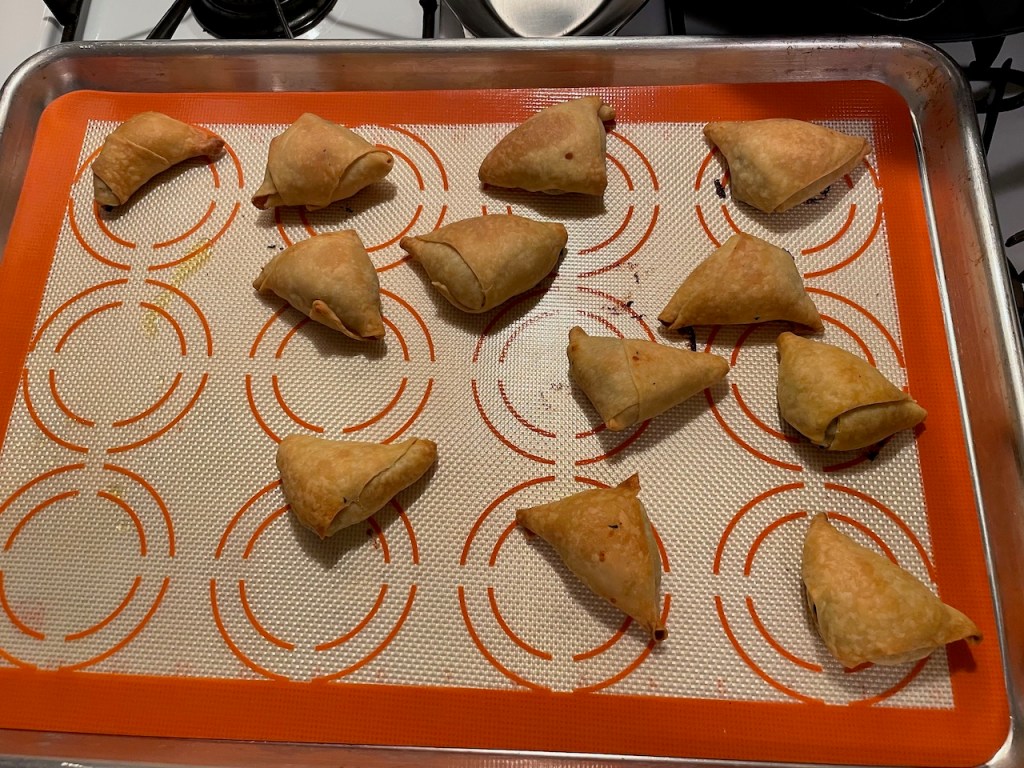
So, I did a bit of “winging it” and made spanakopita triangles. I cleaned and de-stemmed the spinach, then cooked it with diced shallot, garlic, and olive oil. When it was cooled to room temperature, I squeezed out any liquid, drained it on some paper towels to get out any remaining liquid, and stirred in some crumbled feta.

I made the phyllo dough using the NYT recipe, which involved ordering “finely ground durum flour” from King Arthur online. I rolled the dough as thin as I could, cut it into strips, buttered the strips, and then put a blob of spinach on each strip of dough and folded it up into little triangles.

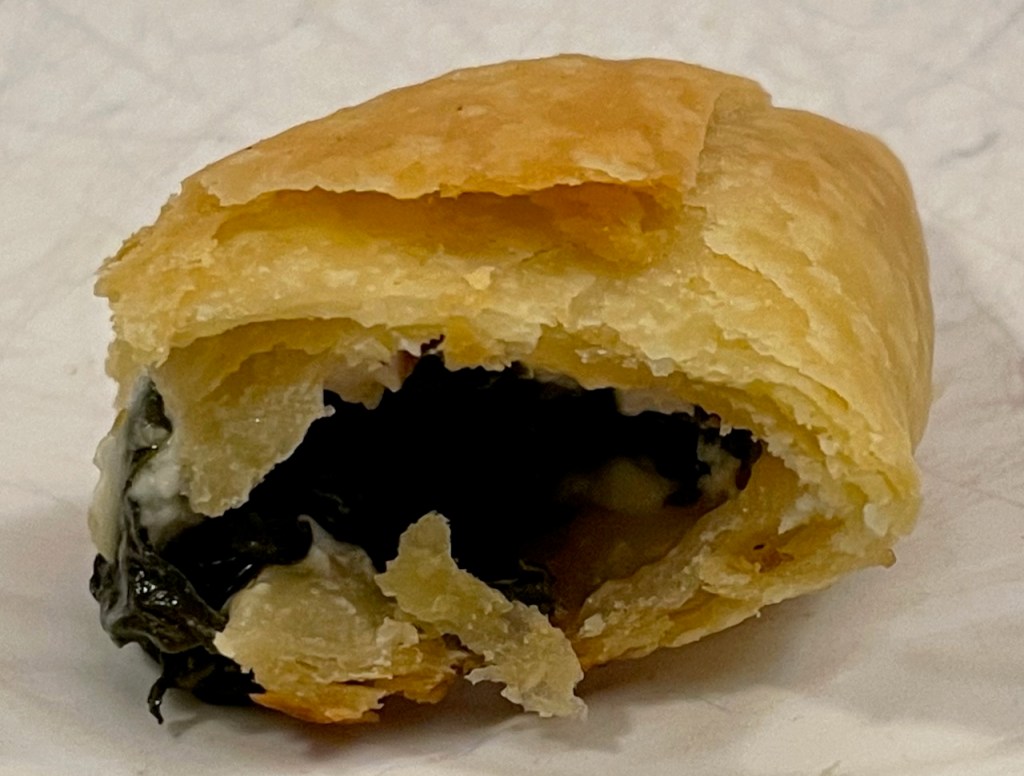
These were great!I wondered if I would have better luck using a pasta roller, so my next batch (I don’t have photos, alas) went through the pasta roller and yielded thinner strips. Of course, I first experienced the sad fiasco where I rolled some dough thinner and thinner, only to then have it merge back into a blob because I hadn’t floured it enough as I went! I’m basically a pasta machine noob, and it showed. Once I got the hang of it, things went better.

The next phyllo project would be baklava, but first the croissant adventures begin…

Apple Crumb Cake, Take 1 and Take 2

This cake was inspired by a Milk Street article about a Plum Crumb Cake from Greg and Lucy Malouf’s book “Suqar”. Since it’s October, it’s more apple season than plum, so I changed the recipe into an apple crumb cake by:

  • switching the plums out for apples
  • switching the cardamom/coriander/allspice out for cinnamon
  • switching the almonds out for walnuts
  • eliminating the almond extract (just used vanilla)

Overall, this worked. I liked the proportion of crumble to cake, and the technique of freezing the crumble and applying it partway through baking was brilliant. But then, I saw Stef and she gave me a piece of her Smitten Kitchen Apple Crumb Cake, and it put mine to shame! It was so much better. It had a higher proportion of crumb topping to cake and the topping was just better.

So, for Take 2, I used the Smitten Kitchen proportions for the crumb topping (no nuts, more butter, more flour) while still using the Milk Street / Malouf technique of freezing the crumble and adding it partway through baking. You can see I also added parchment. This cake was more successful overall, but, here’s a shocker: I overbaked it and the bottom became too dry.

I suppose this is as good a place as any to note that, through my sourdough bread adventures, I have found a solution for the problem of baked goods getting too dark on the bottom before they’re ready overall. The bread community recommends putting the bread pan on top of a broiler pan (the two-part kind that has a top layer with slots and a bottom pan to catch drippings), essentially adding an “air gap” between the baking item and the heat. Instead of using a roasting pan, I have been using an old “AirBake” cookie sheet, which I otherwise never use (I really hate this pan for baking as it intentionally screws up browning). So, when the bottom is getting done but the top isn’t ready, I just slide the AirBake underneath and the problem is solved.

Of course, one needs to recognize that one needs to do this, or it isn’t helpful. Sigh.

I should put a little information here about the apples. In Take 1, I tried three different kinds of apples (McIntosh, Fuji, and Gala) to see what I liked. In the end, it didn’t matter so much. What mattered more is that I wished I had peeled the apples. The original plum cake recipe had beautiful color from the plum skins, but this didn’t translate well to apples, whose skins are more tough. In Take 2, I peeled some McIntosh and that worked. Unlike with a pie, it was actually nice for the apples to get mushy in the cake.

Flatbreads Baking Class

I was fortunate to be able to join in on a King Arthur baking class with Christine. The class covered fougasse and focaccia, and was a remote, interactive class. It was really fun, and we learned how to make these two lovely breads. I forgot to take a post-bake focaccia photo, so here’s a pre-bake one.

I wished that I had put more asiago cheese on/in the fougasse, and I wished that I had put more salt on/in the focaccia (also, all that rosemary fell off!).

The two loaves are very different, with the focaccia being a much lighter and more tender loaf and the fougasse being more robust. Both were wonderful!