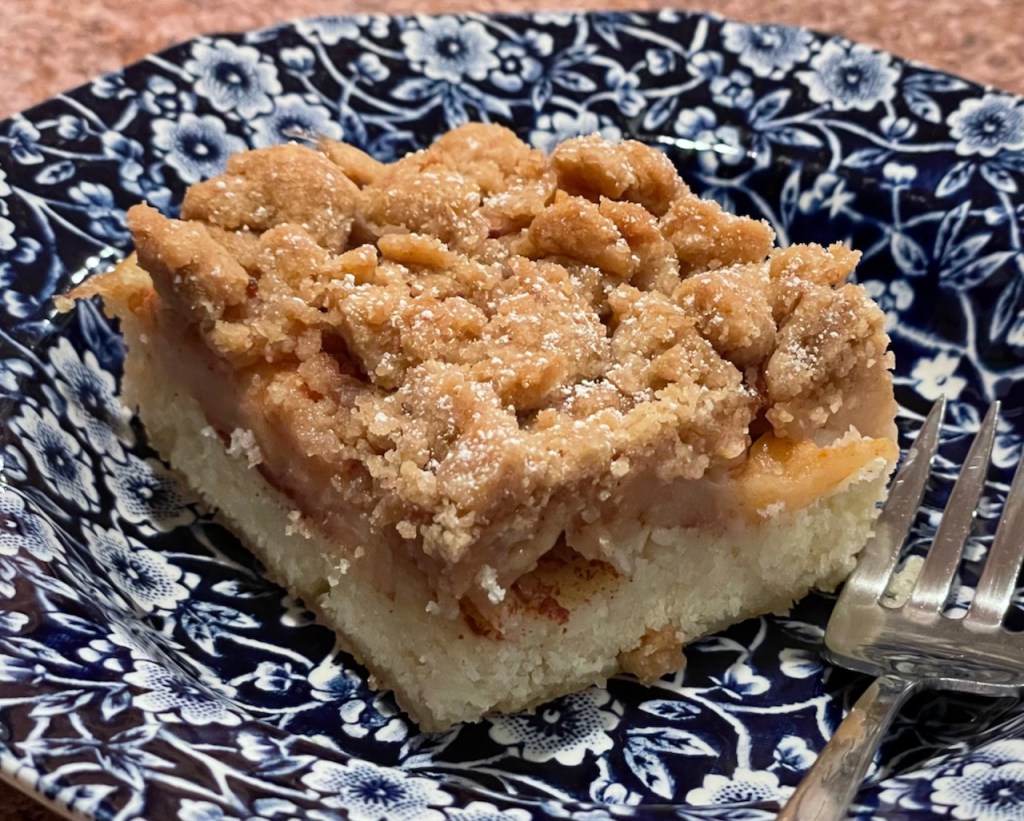
This was my third go at this cake, but this time I decided to completely follow the Smitten Kitchen recipe. I’d been gravitating in this direction, so it made sense. The first attempt was made using the Milk Street Plum Cake recipe, but altered to work for apples. The second attempt tried to walk a middle ground between the two recipes. Those were fine, but this is better. As the Smitten Kitchen description says, the cake has a wonderful crumb-to-cake ration (essentially 1:1), and this makes all the difference.
The only significant change that I had to make to the recipe was to scale it up for a 9″ x 13″ pan rather than 9″ square. This meant increasing everything by ~50%. Of course, I didn’t want to deal with 1½ eggs, so I used the biggest egg I could find in my fridge, and upped the sour cream by a few grams to add some extra moisture.
The other change I made was to invoke Milk Street’s recommendation to freeze the crumb topping before applying it to the cake. The idea is that this helps to make the topping be “pebbly” rather than melting in and/or being more granular or sandy. Smitten Kitchen said just to squeeze the topping into blobs, and I wonder if that would have worked just as well. The freezing method adds extra work, because it’s fussy to have to break apart the frozen topping into various pebble sizes and scatter them about the cake. Next time I want to try comparing the two methods.
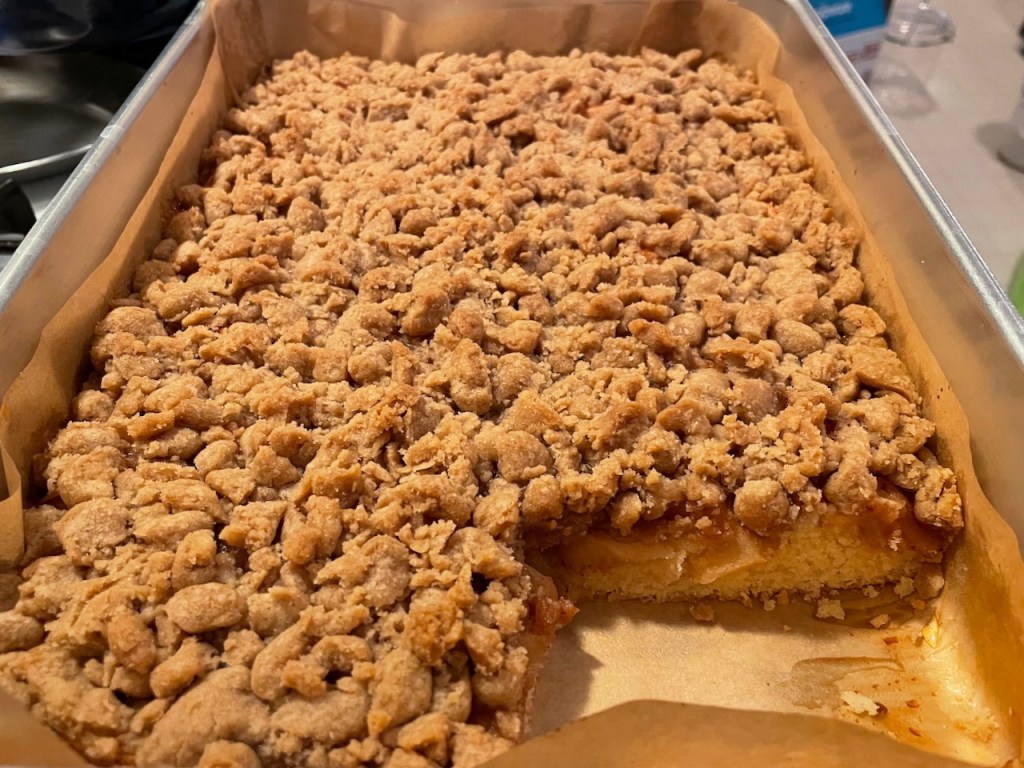
I also baked this in a parchment-lined metal 9″ x 13″ pan rather than the Pyrex I had used the previous times. The metal pan had the major downside of not letting me see how the bottom was doing, but I think the cake baked more evenly, overall. The doneness check in the recipe is to make sure the apples don’t have any more crisp spots. But, because of my history of overbaking this cake (and everything), I worried about what was going on “below decks”. I did bake at the recipe’s advised 325°F for 60 minutes, which is what it took to get all the apples to be soft, but for the final 10 minutes I put the cake on the AirBake cookie sheet to protect the bottom.
As soon as I took the cake out of the oven, I removed a corner piece to check for doneness, and it was perfect. There was just a bit of browning on the bottom and sides, the cake was light and fluffy, and the apples were nice and soft. I’m not sure how one is supposed to do this without taking a chunk out of the cake, but at least this worked! (And, yes, I proceeded to eat quite a large corner of the cake… as you can see above 😬)
Overall, this cake was a big success and I’m very happy with it (I don’t think I’ve ever written these words before!). My only complaint is that it took me several hours to make, though it seems like it should be easy to throw together (I mean, it’s just cake, apples,and a topping). I know I tend to be a rather slow baker, but this felt especially time-consuming.
I used up some of the lovely apples that I got in October at Shelburne Farm. I included some Winesap, Macoun, and Pink Lady apples. I didn’t love any of these as eating apples, so I think the cake was just the right use for them.

Pingback: Checkerboard Cookies | FlayRah
Thanks for sharing some with Steven! ❤️
LikeLike