Croissants, Episode 3

So, I wanted to try the updated croissant recipe that I saw in Joanne Chang’s newer cookbook, Pastry Love. In my comparison chart I refer to this as “Chang 2”. Here are the differences that I saw:

  • The newer recipe is for “spelt croissants” so the flour content is half spelt flour and half bread flour. Her original recipe is 3/4 all-purpose flour and 1/4 bread flour, but the overall flour volume is nearly the same, as is the flour to liquid ratio. I wasn’t interested in trying the spelt variation, but it seemed safe to stick with the original all-purpose/bread flour approach from the original recipe.
  • The newer recipe eliminates the step of mixing 2T of butter into the dough itself. That 2T of butter gets added into the butter block, so it’s not removed overall. It just doesn’t have to mixed into the dough. I appreciated the idea of saving some work, so I went with this change
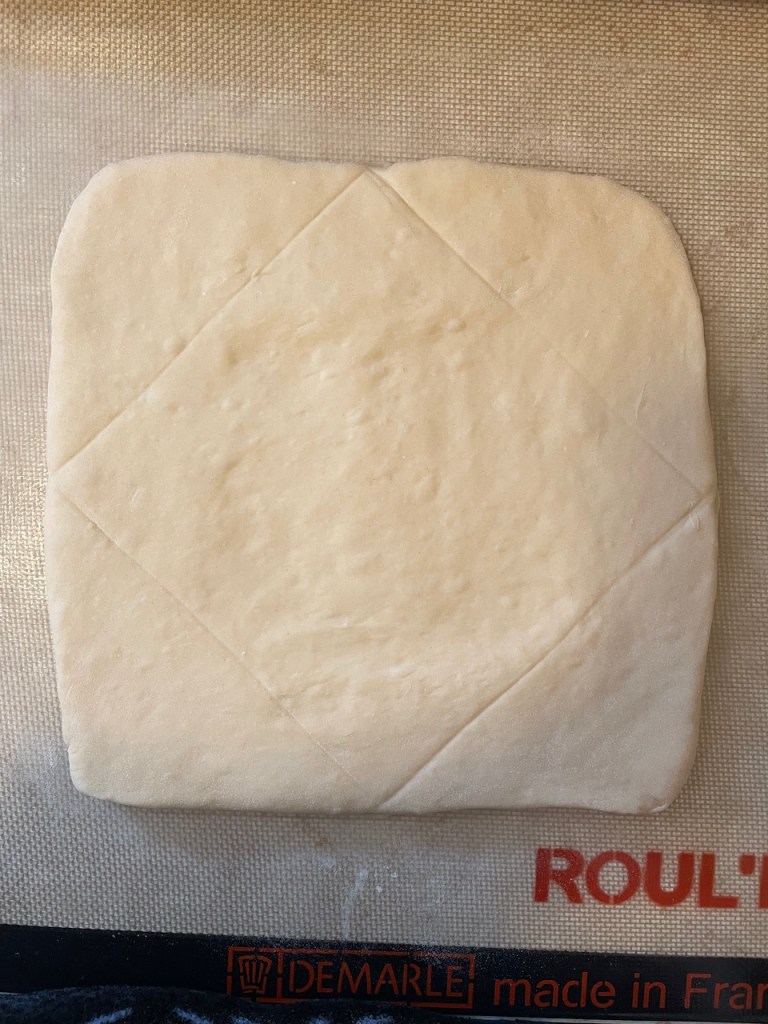
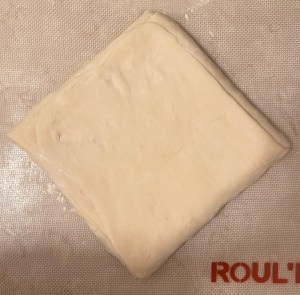
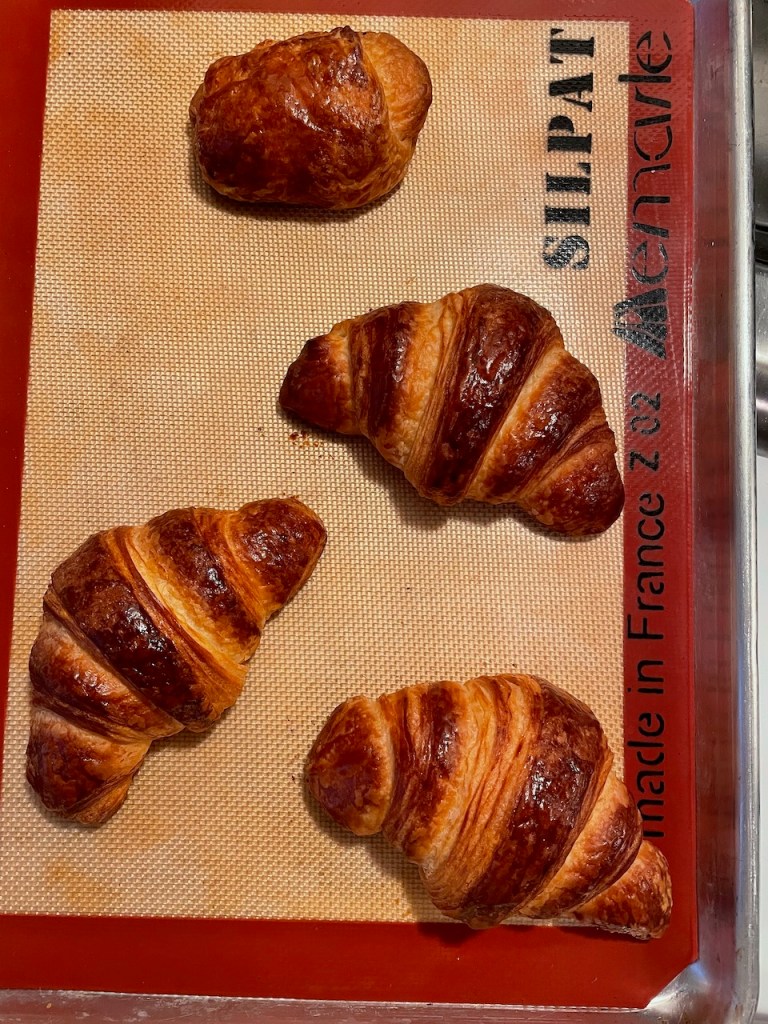
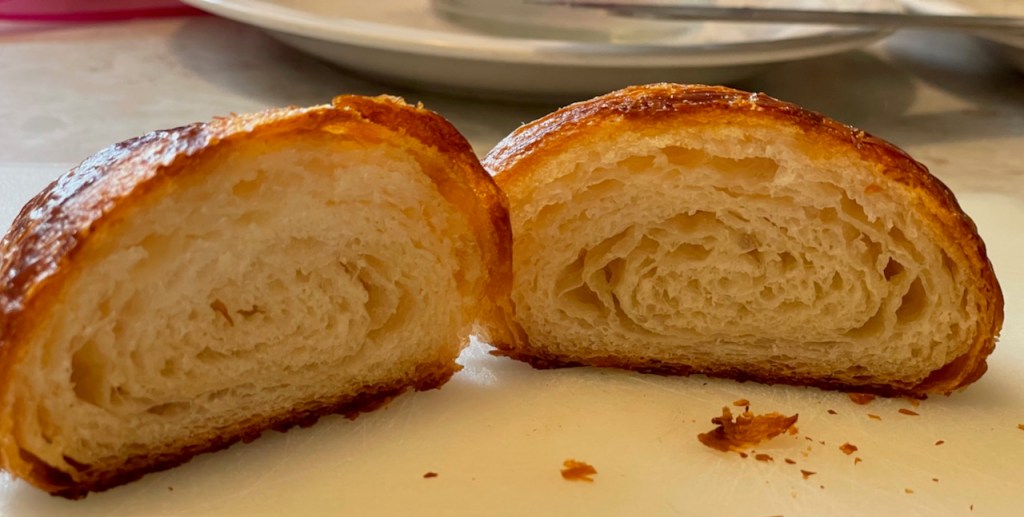
  • Her lamination method is notably updated. Rather than book-fold/letter-fold/chill/letter-fold, this recipe has only two book-folds and that’s it. No mid-lamination chilling! Because of my prior issues with the butter breaking up after being chilled mid-lamination, I am especially excited about this change. And, it reduces the overall duration of the effort (because it takes away one chill step and one fold step). We’re now down to 16 layers (having already gone from 729 -> 36), and I haven’t seen a deterioration in the flakiness of the end result.

I should note that Joanne’s newer lamination method isn’t a classic “book fold”. I think of it as a “modified book fold” and haven’t seen it described anywhere else. It is essentially the same, and still creates the four layers as a regular book fold. The only difference is that all the dough ends are not concentrated in the middle of the dough packet. She offsets the “seam” a bit, and I think this is another tweak that helps maintain the structural integrity of the desired rectangular shape. It’s hard to explain the difference without just sending you to her book (Pastry Love), which has very helpful instructions and photos.

I love the idea that Joanne Chang and her team at Flour Bakery are looking for ways to improve things – even very good things. The lamination method has nothing to do with the spelt change, so this seems to be entirely a process improvement.

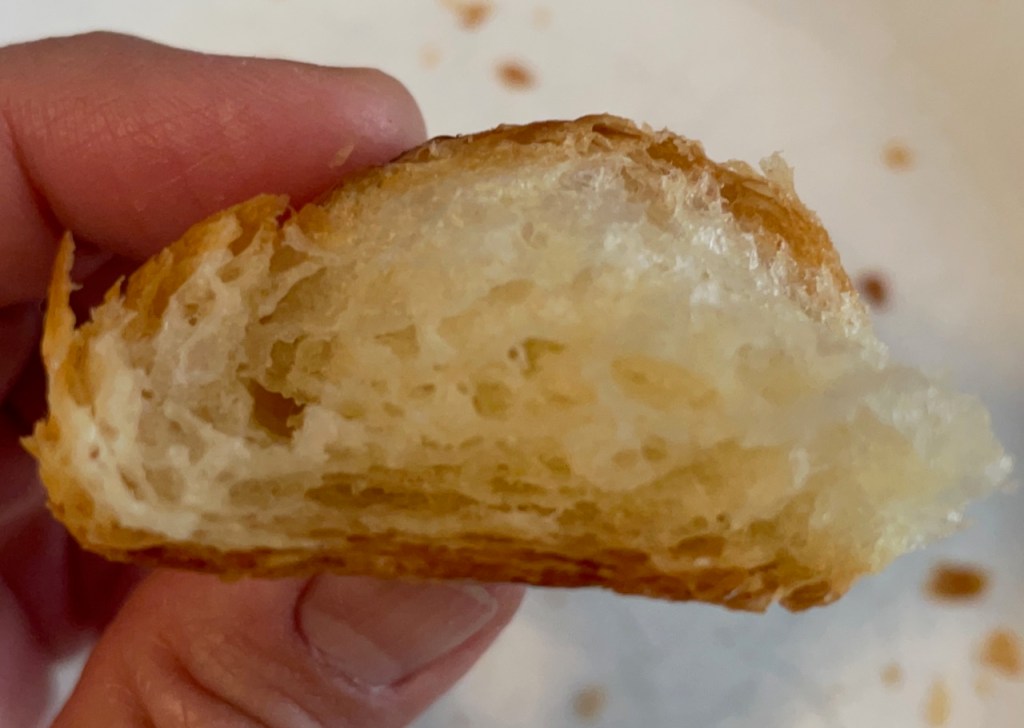
I think I haven’t explicitly mentioned that I make one Pain au Chocolat with each batch of croissants using any leftover bits of laminated dough. (You can see it in the first photo at the top of this post.) I mush the bits back together and roll them out into a rectangle, then roll up some dark chocolate batons and bake with the rest of the croissants. I have to say that these little treats, made from the “leftover bits”, have been such a delight that I think I will try to make more of an effort to allocate some proportion of the next batch to Pain au Chocolat – not just the scraps!

Croissants, Episode 2

If you check out the comparison chart that I made to identify differences between various croissant recipes, you’ll see the wide variety in lamination methods (in the 2nd to last row). For my attempt last week, I wanted to try Shirley Corriher’s lamination method, because I figured: the more lamination = the more better. She also had this peculiar technique of brushing each rolled layer with ice water, and I wanted to see if this worked.

But, I wasn’t convinced by that experience. As I wrote in that prior post, I had big problems with the butter breaking apart after being chilled, and things just kinda went off the rails from there. Yes, I was able to do the 6 turns, and yes the results were great. But, I remained curious whether other techniques could solve some of the logistical problems.

For instance, I found it really hard to roll things out into rectangular form. The cumulative effect of a seemingly small issue of “roundness” (as opposed to “squareness”) was pretty horrible as the turns increased. It seemed that there were big blobs of unlaminated dough extending off the ends of the dough packet, and these appendages just kept getting bigger and bigger. And, it irked me that the scientific-minded Corriher hadn’t accounted for the butter breakage or rolling technique in her recipe.

So, I tried again, but this time I went 100% with the Joanne Chang recipe. This attempt faithfully follows the recipe from her first book, Flour, which is referred to as “Chang 1” in my comparison chart. Notably, this method has only three folds (or “turns”), where the first two (one book and one letter fold*) occur before any chilling, then there’s one more letter fold after chilling. This, compared with Shirley Corriher’s six letter folds, each interspersed with chilling!

Another difference that I didn’t think would matter, but did, was the method that is used to encase the butter at the outset. I am now convinced that this makes quite a big difference. If you look at my first photo above you’ll see that I’ve marked the dough per Joanne’s instructions. Her technique says to place the butter block on the dough so that the dough’s corners are exposed (actually, so does Shirley, see this photo). The part that is really different is that Joanne says to then flatten out the four exposed dough corners – to the extent that each corner will fully cover the entire butter block. So, the butter is enclosed on one side by at roughly 3/4″ layer of dough and on the other side by four flattened out layers of dough (the parts that were the dough corners). Here’s mine after flattening and folding in the corners so that the butter is fully encased.

The reason this turned out to be better for me is that it helped to establish a shape and structure that rolls out to be more square than round. It avoids putting large blobs of unlaminated dough in the middle or edges of the dough packet, instead establishing a more even, rectangular shape from the beginning.

A few more notes to add:

  • Joanne addresses the butter-breaking issue by suggesting that you first use the rolling pin to press on the dough layers up and down the dough, and only afterwards roll out the resulting ridges. She explains that the goal is to get the dough and the butter to form even layers, without any one part extending beyond any other part.
  • I’ve taken to thinking of the lamination rolling step as, actually, rolling out the butter — where the dough is just along for the ride. The butter is really the important layer to get thinned and extended before folding.
  • I don’t think there was a loss with the fewer folds compared to last week’s attempt. Theoretically, six letter folds makes more than 700 layers where a book fold and two letter folds makes 36. In fact, this King Arthur article addresses why fewer turns actually makes a better result.

* If you’re not familiar with terms “book” and “letter” fold, you can see a primer here. The basic difference is that a book fold creates four layers and a letter fold creates three.